Online video workflow
Try lip sync online free for your next clip
This page explains lip-sync concepts. The linked Vidione home page offers paid talking-avatar generation from a script, person portrait, and voice; enter those on Vidione after signing in. It does not promise source-video dubbing, singing videos, or reference-motion control. Browser timeline editing does not require a subscription, but AI generation does. Do not assume free or no-signup AI generation: these are questions about products, not a guarantee for Vidione.
lip sync online free is useful when you want to test how spoken audio fits visible mouth movement without starting in a complex editing timeline.
Link only. Nothing written or selected here is sent to the destination.
Open Vidione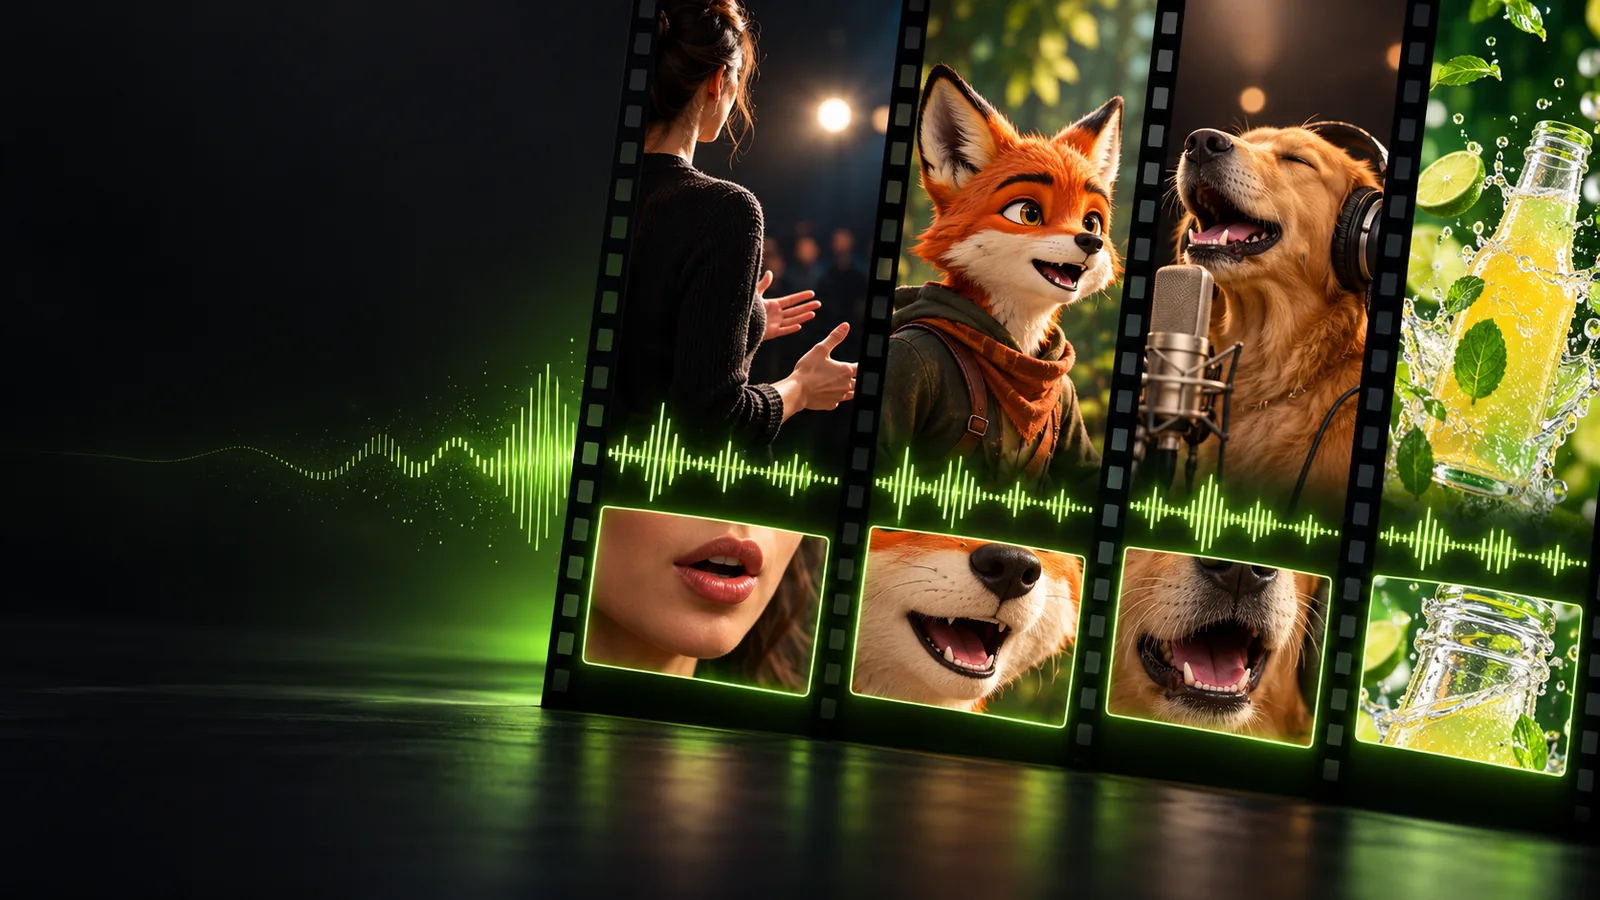
Core workflow
How lip sync works online
The process is easiest to understand as three connected checks: prepare the source, align the speech, and inspect the result.
-
1
Prepare the source
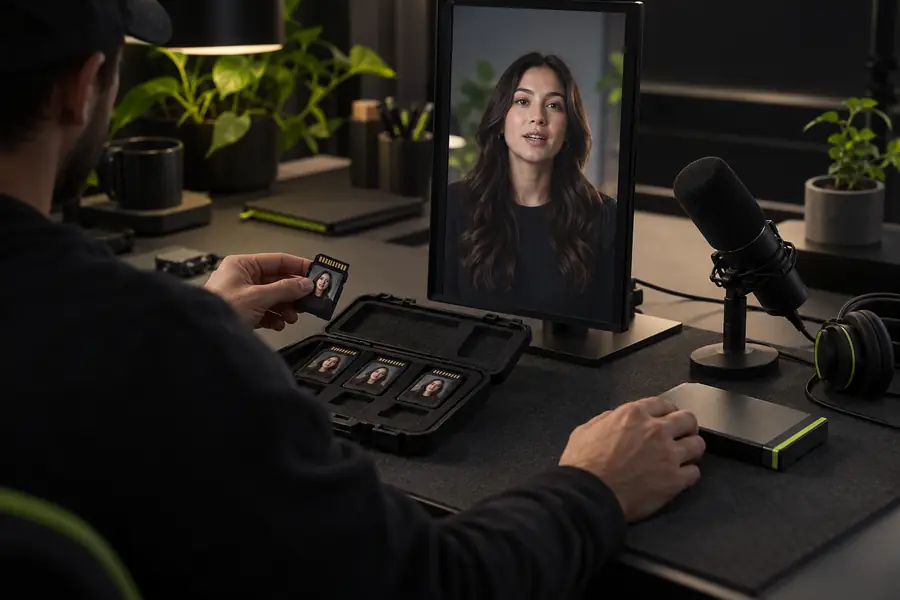
Choose a clear face or character view and a speech recording with limited background noise. Consistent framing gives the alignment process a cleaner visual reference.
-
2
Match speech to motion
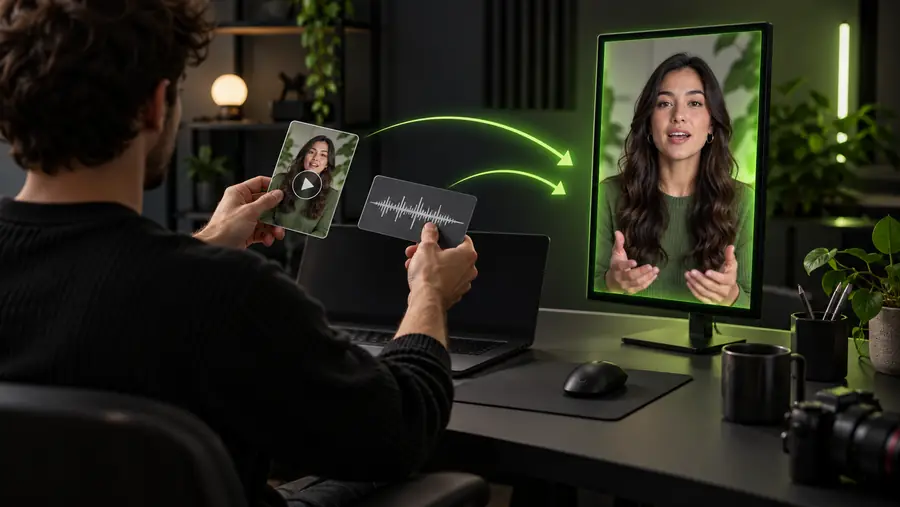
Send the visual and audio together, then let the online workflow map spoken timing to mouth movement. Keep the first test short so problems are easy to spot.
-
3
Inspect the result
Watch consonants, pauses, and the start and end of each phrase. If the mouth leads or trails the voice, adjust the source or timing before using the clip.
Keep exploring
Choose the right lip sync path
Different inputs call for different checks, so these related guides help you move from a general online test to a more specific workflow.
Visual check
Compare the source with the aligned result
A before-and-after view makes timing errors easier to notice than a single still frame.
- Source clip
- Aligned result
Look for consonants, pauses, and phrase endings rather than judging only the first frame.
Honest boundaries
Limits and edges of an online workflow
An online lip sync test can shorten the first pass, but it cannot remove every source-quality or editorial problem.
-
Poor audio stays difficult
Heavy noise, music, clipped speech, or overlapping voices can make mouth timing ambiguous.
WorkaroundTrim the sample and use the clearest available speech recording for the first pass.
-
A still face has less motion context
A photo can support a speaking result, but it does not provide natural head movement, blinking, or expression changes.
WorkaroundUse a well-lit, front-facing portrait and keep expectations focused on the mouth area.
-
Timing is not the same as performance
Accurate mouth movement cannot guarantee natural emotion, eye direction, gestures, or believable body language.
WorkaroundReview the whole frame and combine the result with manual editing when performance matters.
-
Terms can vary by destination
Online tools may differ in supported inputs, export options, retention, or usage conditions.
WorkaroundCheck the current destination terms and inspect the output before publishing or sharing it.
Practical comparison
Online alignment or manual editing
Use this side-by-side view to decide whether an online first pass fits your clip or whether a timeline gives you better control.
Online lip sync workflow
Manual timeline edit
First-pass speed
Online lip sync workflow
Useful for quickly testing a short source and audio pair.
Manual timeline edit
Usually takes longer to set up and inspect frame by frame.
Timing control
Online lip sync workflow
Good for an initial alignment, with final control depending on the destination.
Manual timeline edit
Direct control over offsets, cuts, and keyframes.
Source preparation
Online lip sync workflow
Still depends on a clean face view and understandable speech.
Manual timeline edit
Also depends on clean inputs, but allows more visible correction.
Best use
Online lip sync workflow
Testing a concept, draft, or short social clip.
Manual timeline edit
Finishing a detailed edit with several layers and revisions.
Troubleshooting
Online lip sync workflow
Review the source, audio, and generated result as separate causes.
Manual timeline edit
Inspect tracks and adjust the timeline directly.
Publishing check
Online lip sync workflow
Confirm the destination's output and usage terms before sharing.
Manual timeline edit
Confirm the project settings, export, and media rights before sharing.
Next practical step
Put a short clip through the workflow
Start with a clear face, a short speech sample, and one specific timing question. A focused test makes it easier to tell whether the result is ready for editing or needs a cleaner source.
Open Vidione- Use a clear visual source
- Check speech pauses and consonants
- Review the full frame before sharing
Common questions
lip sync online free FAQ
It usually refers to testing or creating a speech-aligned video through an online workflow without beginning in a desktop timeline. The exact inputs, output options, and usage terms depend on the destination you use.
Some workflows accept a still portrait as the visual source, while others expect a video or animated character. A front-facing image with clear lighting generally gives you a more useful starting point than a dark or heavily angled photo.
The audio may contain noise, music, clipped words, or unclear pauses, or the visual source may not show the mouth clearly. Try a shorter, cleaner speech sample and check phrase starts, consonants, and endings separately.
Not always. Watch the complete clip for timing, facial quality, unwanted motion, and any visible artifacts, then confirm the destination's current export and usage conditions before publishing.