First-time creator
You have a short performance, a chosen audio track, and no established editing routine.
Start with how to lip sync to organise the recording, reference track, and first review without skipping the basics.
how to lip syncPractical workflow
This page explains lip-sync concepts. The linked Vidione home page offers paid talking-avatar generation from a script, person portrait, and voice; enter those on Vidione after signing in. It does not promise source-video dubbing, singing videos, or reference-motion control. Browser timeline editing does not require a subscription, but AI generation does.
This lip sync tutorial step by step breaks the work into a clear decision, preparation, alignment, and review process. Use it to choose the right path before you spend time refining a clip.
Link only. Nothing written or selected here is sent to the destination.
Open Vidione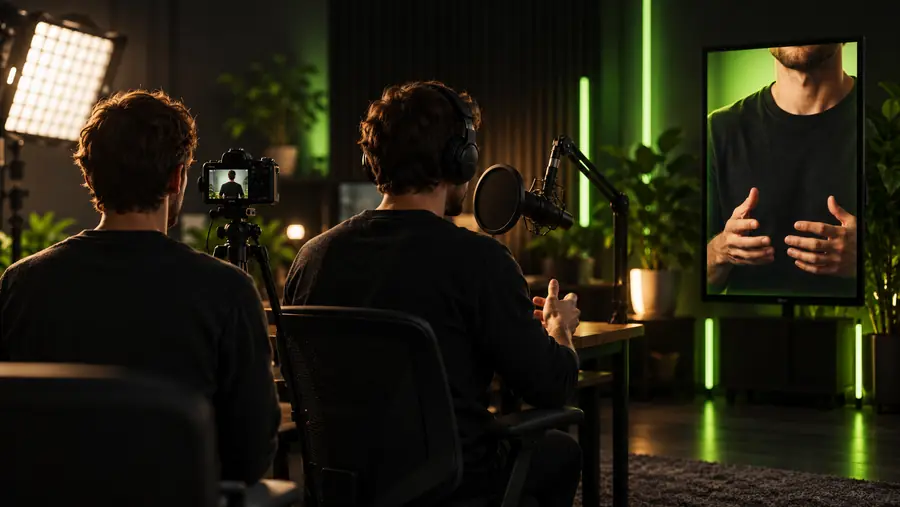
The quickest workflow depends on what you already have. Start with the source, the audio, and the kind of result you need; then follow the path that matches your project.
Choose Path A when you are creating or recording the performance yourself. It gives you the most control over expression, camera position, and the relationship between the voice and the mouth.
If the source recording is muffled, clipped, or buried under background noise, visual alignment will not make the speech easier to understand.
WorkaroundRecord or select the cleanest voice track first, then build the visual timing around that version.
Words may align while the face still feels emotionally flat, especially when the source delivery and visible performance do not match.
WorkaroundMark the important beats in the audio and adjust expression, pauses, and emphasis deliberately.
Heavy occlusion, rapid head turns, extreme angles, and very fast speech can make mouth timing harder to judge or reproduce.
WorkaroundUse a clearer source, shorten the shot, or divide a complex performance into smaller sections.
A clip can look aligned in the mouth area while still feeling late, early, or unnatural when watched as a whole.
WorkaroundReview the complete clip with sound on, then inspect the start, stressed words, pauses, and ending separately.
Choose Path B when you already have a finished visual and need to match it to a selected voice or dialogue track. This path prioritises consistency and careful reference checking.
Select one final audio track and identify the exact section to use. Remove uncertainty about alternate takes, trimmed openings, or changed wording before alignment begins.
Work from recognisable consonants, vowels, pauses, and stressed words rather than trying to match every frame at once. Check short sections before reviewing the whole clip.
Watch the finished sequence at normal speed, then repeat it with attention to transitions, expression, and the last spoken sounds. Make only the changes that improve the complete read.
Use this comparison before choosing your next move. A guided workflow is usually better for a new project; direct editing is more useful when you already understand the source and the failure point.
Guided workflow
Direct editing
Guided workflow
A new clip with uncertain source material or timing
Direct editing
A clip with a known, localised timing problem
Guided workflow
Confirm one clean reference track before working
Direct editing
Inspect the existing track and preserve only the needed section
Guided workflow
Use a clear face, readable mouth, and stable framing
Direct editing
Work from the current footage and correct its weakest moments
Guided workflow
Check pauses and stressed words in short sections
Direct editing
Adjust the specific early, late, or drifting segment
Guided workflow
Watch the full clip after each meaningful pass
Direct editing
Compare the changed section with the surrounding edit
Guided workflow
Move to direct editing once the cause is understood
Direct editing
Return to guided preparation if repeated edits do not help
Guided workflow
Spending time refining before the source is ready
Direct editing
Fixing symptoms while leaving the original audio or footage problem intact
Different creators reach the same final check from different starting points. Pick the card closest to your project, then use its linked guide for the part that needs the most attention.
You have a short performance, a chosen audio track, and no established editing routine.
Start with how to lip sync to organise the recording, reference track, and first review without skipping the basics.
how to lip syncYou need to appear confident on camera but do not know every word or cue yet.
Use How to lip sync without knowing the words? to prepare through phrasing, visual cues, and repeatable sections.
How to lip sync without knowing the words?The audio and mouth movement feel close, but the result still seems early, late, or uneven.
Open How to fix lip sync issues? for a focused way to isolate drift before changing the whole sequence.
How to fix lip sync issues?You are preparing several small clips and want one repeatable process for each source.
Use how to lip sync as the baseline, then repeat the same audio, alignment, and full-clip review checks.
how to lip syncThe comparison is about process: inspect the source, align meaningful speech cues, then watch the entire clip before exporting or sharing.
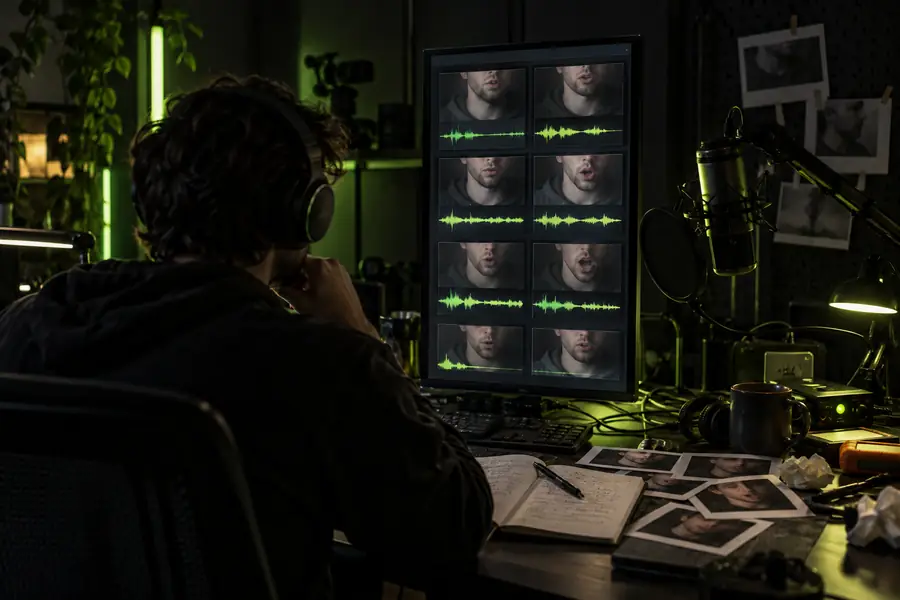
When the source is clear and the audio is settled, a step-by-step process keeps the work focused. Start with the path that matches your project, review the complete result, and send the prepared brief to the next creation step.
Open VidioneThese answers cover the common decisions behind a lip sync tutorial step by step, from choosing a starting point to deciding when a review is enough.
Begin by identifying your source material and selecting one final audio reference. Decide whether you are creating the performance around the track or matching an existing visual to it before making timing changes.
Yes. A clean, final reference track gives you stable pauses, words, and emphasis to follow. If the audio changes later, earlier alignment work may need to be repeated.
Use Path A when you are creating or recording the visible performance yourself. Use Path B when the visual already exists and your main task is matching it to a selected voice or dialogue track.
Watch the entire clip at normal speed with sound on. Check the opening, stressed words, pauses, transitions, and final sounds, because a locally aligned mouth can still feel out of time in the complete performance.
Stop when further changes no longer improve the full clip and begin to make surrounding moments feel less natural. If the source audio, framing, or performance remains the real problem, fix that issue instead of making smaller timing edits.