On-camera guide

Wondering how to lip sync? Start with the beat

This page explains lip-sync concepts. The linked Vidione home page offers paid talking-avatar generation from a script, person portrait, and voice; enter those on Vidione after signing in. It does not promise source-video dubbing, singing videos, or reference-motion control. Browser timeline editing does not require a subscription, but AI generation does.

A convincing take begins before you press record: choose a short passage, learn its rhythm, and make the audio easy to hear. This guide walks through rehearsal, recording, and playback so you can spot timing problems before you share a clip.

Link only. Nothing written or selected here is sent to the destination.

Open Vidione
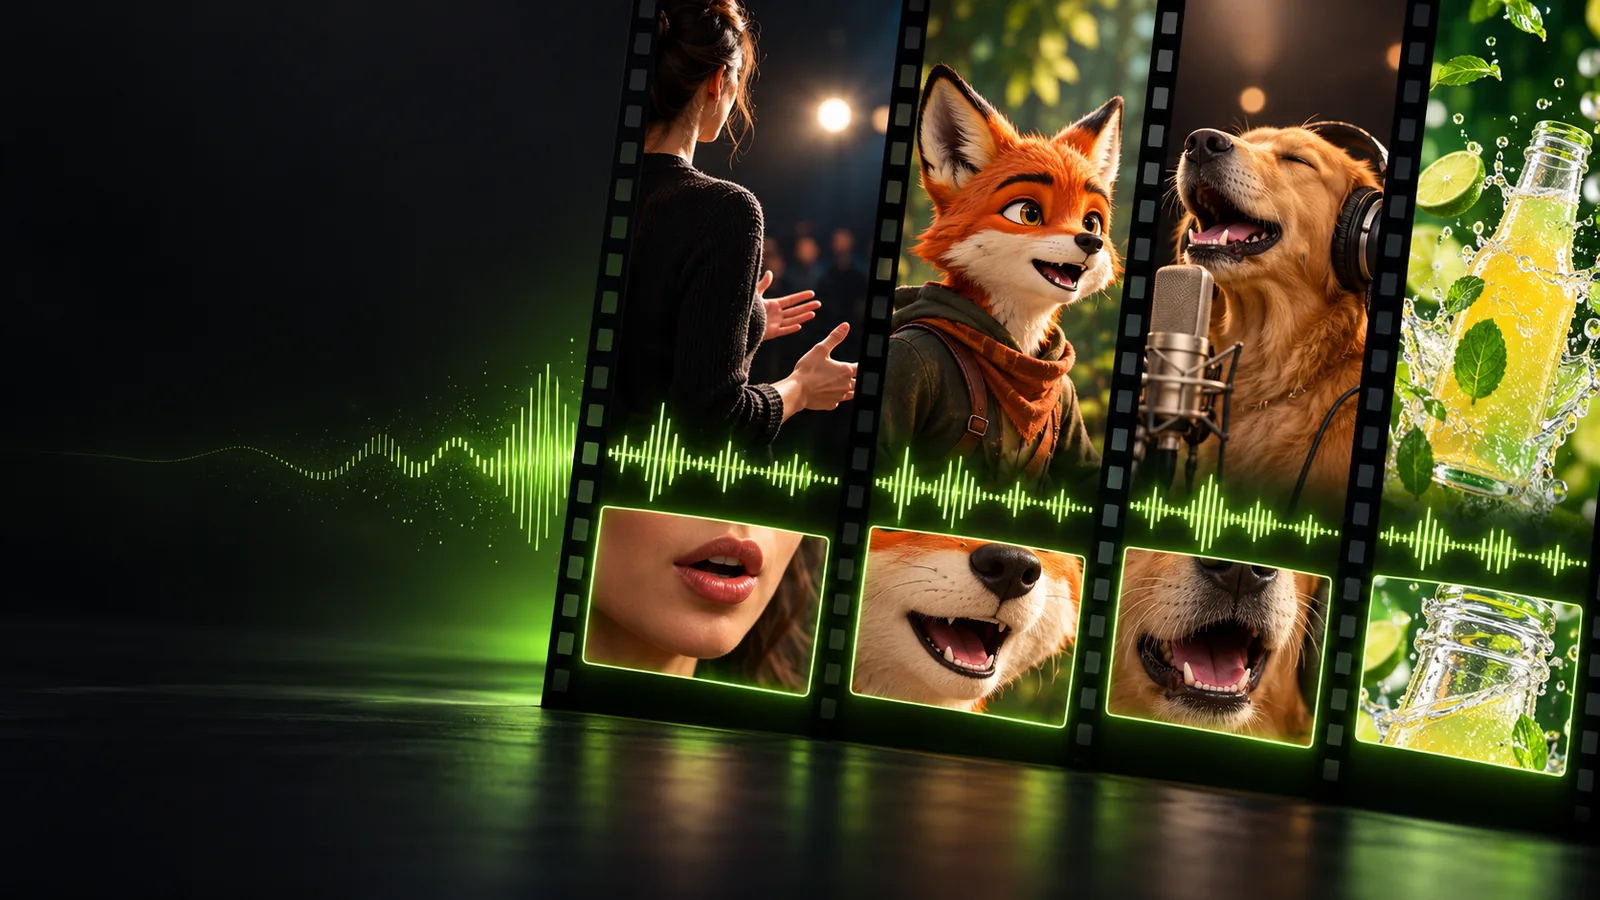
Lip Sync site hero visual

You need an audio passage you can replay, a quiet place to record, and a way to watch the result with sound. Start with one sentence rather than a whole song.

First-time performer

You have one short spoken line and feel tempted to mouth each syllable as soon as you hear it. Play the line several times, then rehearse its pauses and strongest words before filming.

You can concentrate on a relaxed expression instead of chasing the audio. For a pass-by-pass approach, use the linked lip sync tutorial.

lip sync tutorial step by step

Short-form creator

You want to perform to a fast quote or song excerpt but do not know every word yet. Mark the start of each phrase and practice only a few seconds at a time.

Short rehearsals make missed consonants easier to notice. The linked guide addresses performing before you have memorized the whole passage.

How to lip sync without knowing the words?

Editor

Your performance looks right during recording, but the exported video seems late. Compare the original clip with the export before moving any audio in the timeline.

That comparison helps separate a performance mistake from playback or export drift. Use the linked troubleshooting guide for a more focused check.

How to fix lip sync issues?

Presenter

You are recording an introduction that must look natural rather than theatrical. Keep the camera near eye level, leave room for normal blinking, and rehearse the meaning of the line.

A familiar line is easier to deliver without exaggerated mouth shapes. The detailed tutorial gives you a repeatable way to review successive takes.

lip sync tutorial step by step

numbered steps

Treat the audio as your timing reference. Rehearse first, record a few complete takes, then judge the result at normal playback speed.

  1. 1

    Choose a manageable passage

    Pick one sentence or a brief musical phrase with a clear beginning and end. Listen for breaths, pauses, and stressed syllables. If you control the source audio, use a clean recording you have permission to use; background noise makes it harder to hear exactly when words begin.

  2. 2

    Learn the rhythm before filming

    Speak the words aloud several times, then silently shape them while the audio plays. Pay attention to visible sounds such as B, P, and M, where the lips meet. Do not hold your mouth open between words that call for a brief closure.

  3. 3

    Set up a clear recording

    Place the camera where your face remains visible and light falls across your mouth. Play the reference audio loudly enough for you to follow without overpowering the recording. Start filming before the line begins and stay in frame until it ends, giving yourself room to trim.

  4. 4

    Perform complete takes

    Follow the phrase rather than reacting to each sound after you hear it. Keep your jaw and expression natural, and continue through a small mistake instead of stopping immediately. Record several takes; comparing complete attempts is often more useful than repeatedly restarting the first word.

  5. 5

    Review sound and picture together

    Watch at normal speed first. Check the opening word, a strong consonant in the middle, and the final mouth closure. If editing, line up the recorded performance with the reference audio and make small timing adjustments only after checking that the clip plays consistently.

common errors and fixes

A mismatch does not always mean the entire performance is wrong. Identify whether the problem appears in one word, throughout the clip, or only after export.

  • Rehearsal cannot recover unheard words

    If the reference audio is muffled, you may memorize the wrong syllables and repeat them perfectly out of time. Guessing from the beat alone is least reliable on quiet consonants.

    WorkaroundFind a clearer permitted audio source, slow it down for practice if your player allows, and return to normal speed for the take.

  • Editing cannot fully hide an obstructed mouth

    A hand, microphone, hard shadow, or frequent turn away from camera removes the visual cues viewers need. Shifting the audio will not reveal a consonant that was never visible.

    WorkaroundRecord another take with steadier framing and light across the lower face.

  • One timing adjustment may not fix a drifting clip

    If the first word matches but later words separate from the audio, moving the whole track can fix one point while making another worse. Playback or export behavior may also be involved.

    WorkaroundCompare the source and export, then inspect alignment near both the beginning and end before making further edits.

  • This guide cannot establish usage rights

    A well-timed performance does not grant permission to reuse a recording, impersonate a real person, or publish someone else's voice or image. Rights and consent depend on the material and its use.

    WorkaroundUse material you created or are authorized to use, and get consent where a person's likeness or voice is involved.

advanced tips

Make the next take easier to match

Once the basic timing works, rehearse with the audio while watching your face in a mirror, then stop watching yourself for the recorded take. Compare the same three moments in every attempt: the first visible sound, a consonant in the middle, and the final word. Change one thing at a time—your lead-in, your phrasing, or your framing—so you know what improved. If you want to explore video creation after planning your performance, continue to the destination.

Open Vidione
  • Practice short passages before full-length performances
  • Review at normal speed before fine adjustments
  • Use recordings and likenesses you are permitted to use

tutorial FAQ

You do not need to memorize an entire track, but you should know the passage you are filming. Rehearse short phrases until you can anticipate their starts, pauses, and endings. Anticipation usually looks more natural than reacting after each word plays.

Speaking aloud during rehearsal can help you learn the phrasing and visible consonants. For the filmed take, choose the approach that lets you keep natural mouth shapes while hearing your reference audio. Review the recording afterward rather than assuming either method will always look better.

For a direct-to-camera clip, look near the lens instead of watching your own image continuously. Keep your face in a consistent position so the mouth stays visible. If the scene calls for a different gaze, rehearse that movement with the line before recording.

There is no required number. Record a few complete takes and compare the opening, middle, and ending of each one. Keep the version with the most consistent timing and natural expression, not merely the strongest first word.

Yes. Play the recording with sound at normal speed and watch for whether visible lip closures coincide with the matching sounds. Pause at a few distinct words if something seems wrong, but make your final judgment while the clip is playing normally.

Start creating
Start creating